There are many possible ways for you to use your inserts. If you want to bind your printed pages, this section will bring you some ideas and tips to assemble, create or embellish your future planner.
PREPARE AND PUNCH INSERTS
If you have opted for a page size other than A4 or US Letter, you will probably need to cut out your pages to get the desired page size. For this, a good cutter and 2 clamps or paper clips (to keep the sheets together at the time of cutting) will be sufficient.
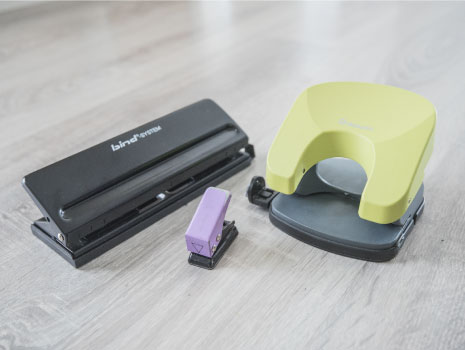
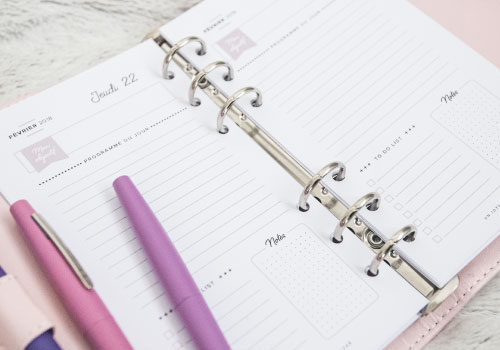
If you want to insert your pages into a ring binder, you will need to punch them after printing. The files offered on the boutique « Un joyeux petit bazar » are suitable for this use with sufficient page margins for perforation. To punch your pages, a 1 hole punch can suffice. It will be necessary to take the measurements and mark them on one of the pages before punching.
But there are also many other models, within a reasonable budget (about 15 $), suitable for 6 rings binders and adaptable to different sizes (A4, A5, personal …). They will allow you to gain precision, time and efficiency: a must for planner addicts!
CREATE A BOOKLET
You can insert your printed pages in a binder, paste them into a notebook, and so on. But you can also assemble your pages into a booklet mode.
SOME TIPS TO START
• A booklet consists of sheets folded in half to form pages: depending on the size of your booklet, you will have to use sheets measuring twice your pages. For example, for a booklet in A5 format (148 x 210 mm), use A4 sheets (210 x 297 mm).
• If you are assembling this booklet yourself, I advise you not to have too many pages. A booklet that is too thick would be difficult to bind: approximately twenty pages is sufficent (10 sheets folded in 2).
• When you download a planner file (such as « Fitness planner », « Budget planner », « Blog planner » …) on the shop « Un joyeux petit bazar », the pages are separate PDF files. So you can print them according to your needs. To create a booklet, you will need to assemble the pages in one single PDF file. To help you in this step, I invite you to discover the following tutorial: Prepare a unique PDF file of your future planner.
• A booklet is always composed of a multiple of 4 pages (a sheet folded in half = 4 pages). Your file should contain a multiple of 4 pages also: for example 16 pages, 20 pages or 24 pages …. When you create this single PDF file, the order of your pages should be organized in the read direction : the first page for the front cover, then page 2 on the back of this cover, page 3, page 4, etc … and the last page to match the back cover of the booklet.
When your PDF file is ready and complete, print it by selecting the « Booklet » option in the print settings. Feel free to see all of this in the video below.
OPTION – For a booklet cover that is different to the inside pages (for example : more rigid, colored or other), you can also:
• Prepare the booklet cover separately and print only the inside pages in « booklet » mode.
• Place the cover sheet directly into your printer’s paper tray (you will see this option in this video tutorial).
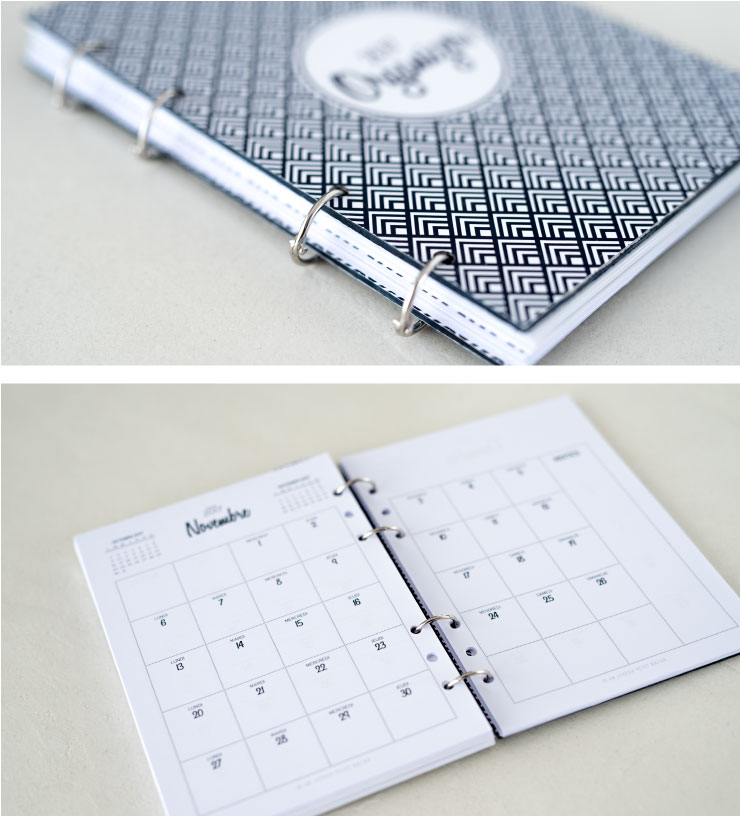
CREATE YOUR PLANNER
Here is a DIY approach to craft your planner cheaply and easily.
Prepare your equipment and follow the guide!
Equipment you need :
• 2, 4 or 6 binder rings
• card or grey cardboard (the hole punch must be able to punch the card thickness)
• Sheets / paper of your choice for your planner cover or a printed covers from the shop (1 x front and 3 x back)
• Printed and punched inner inserts
• Glue
• Cutter
• Hole punch
• Optional : paint or nail polish
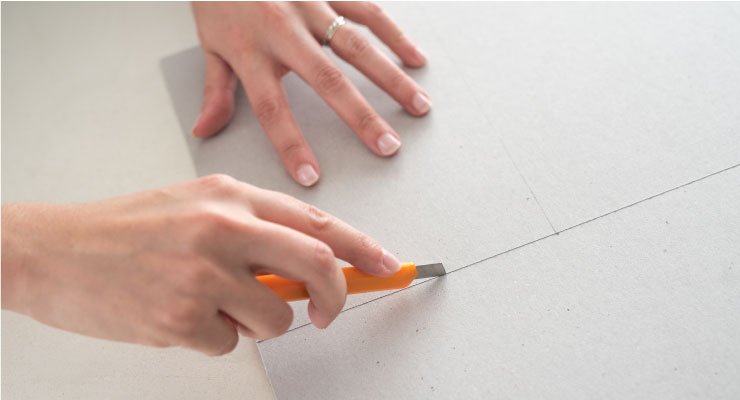
Cut 2 pages of the card or cardboard to the size of your inserts.
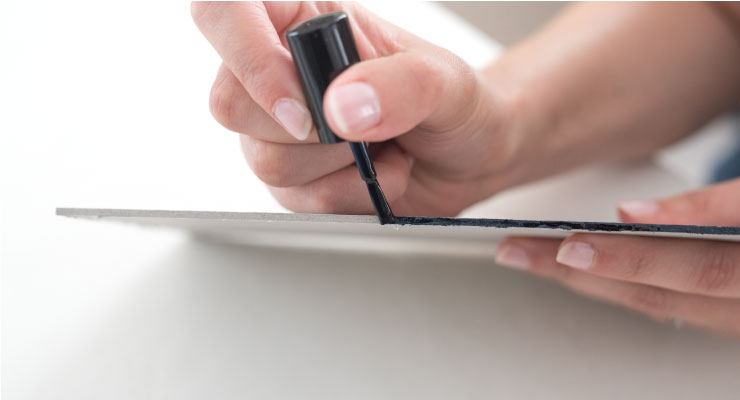
Optional ! Paint the edge of the card (depending on its thickness) with a nail varnish or paint. Then let dry.
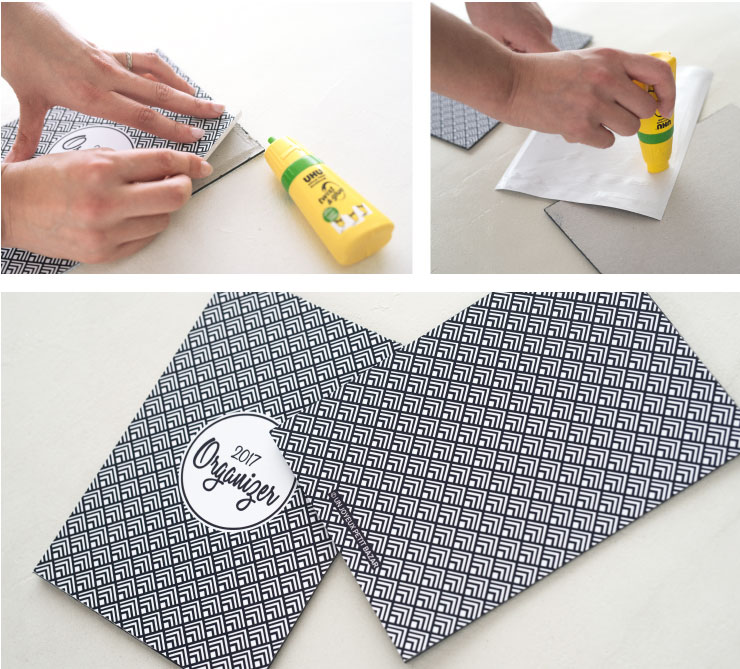
Paste the printed covers on the 2 faces of the cardboard. Repeat this for the back of your planner.
Mark the position of holes (they should correspond to the inner inserts’s hole positions).
Holepunch your two covers.
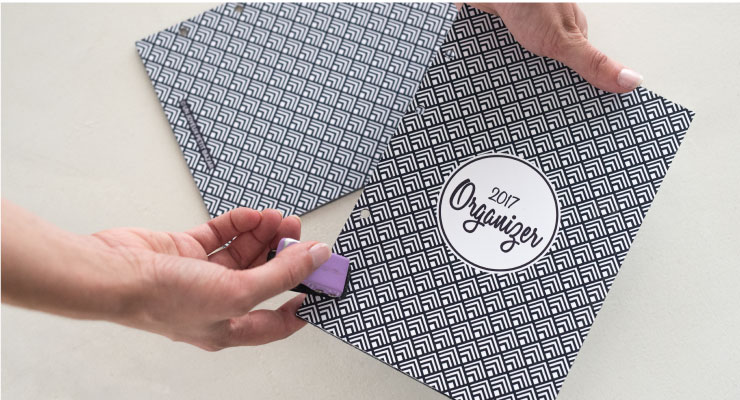
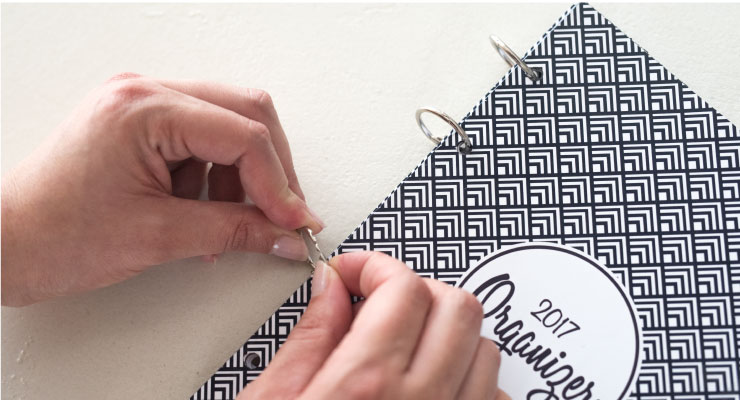
Bind the cover pages and inner inserts with the binding ring.
Your planner is ready ! For more customization, you can accessorize with dividers, bookmarks, post-it notes…